
Professional landscape and adventure photographer Bret Edge shares a landscape photography tip he learned in an Arizona Highways guidebook over twenty years ago that he continues to apply today.
Read moreHow I Ended Up Lying in the Dirt Next to a Cactus and the Valuable Lesson It Taught Me

A prickly pear cactus frames Cathedral Butte at sunset from an area in Sedona known as Secret Slickrock, Arizona.
Professional landscape photographer Bret Edge shares a tip on using creativity to salvage a sunset when the shoot didn’t quite go according to plan.
Read moreUsing Personalized Default Camera Settings to Avoid Photographic Catastrophes
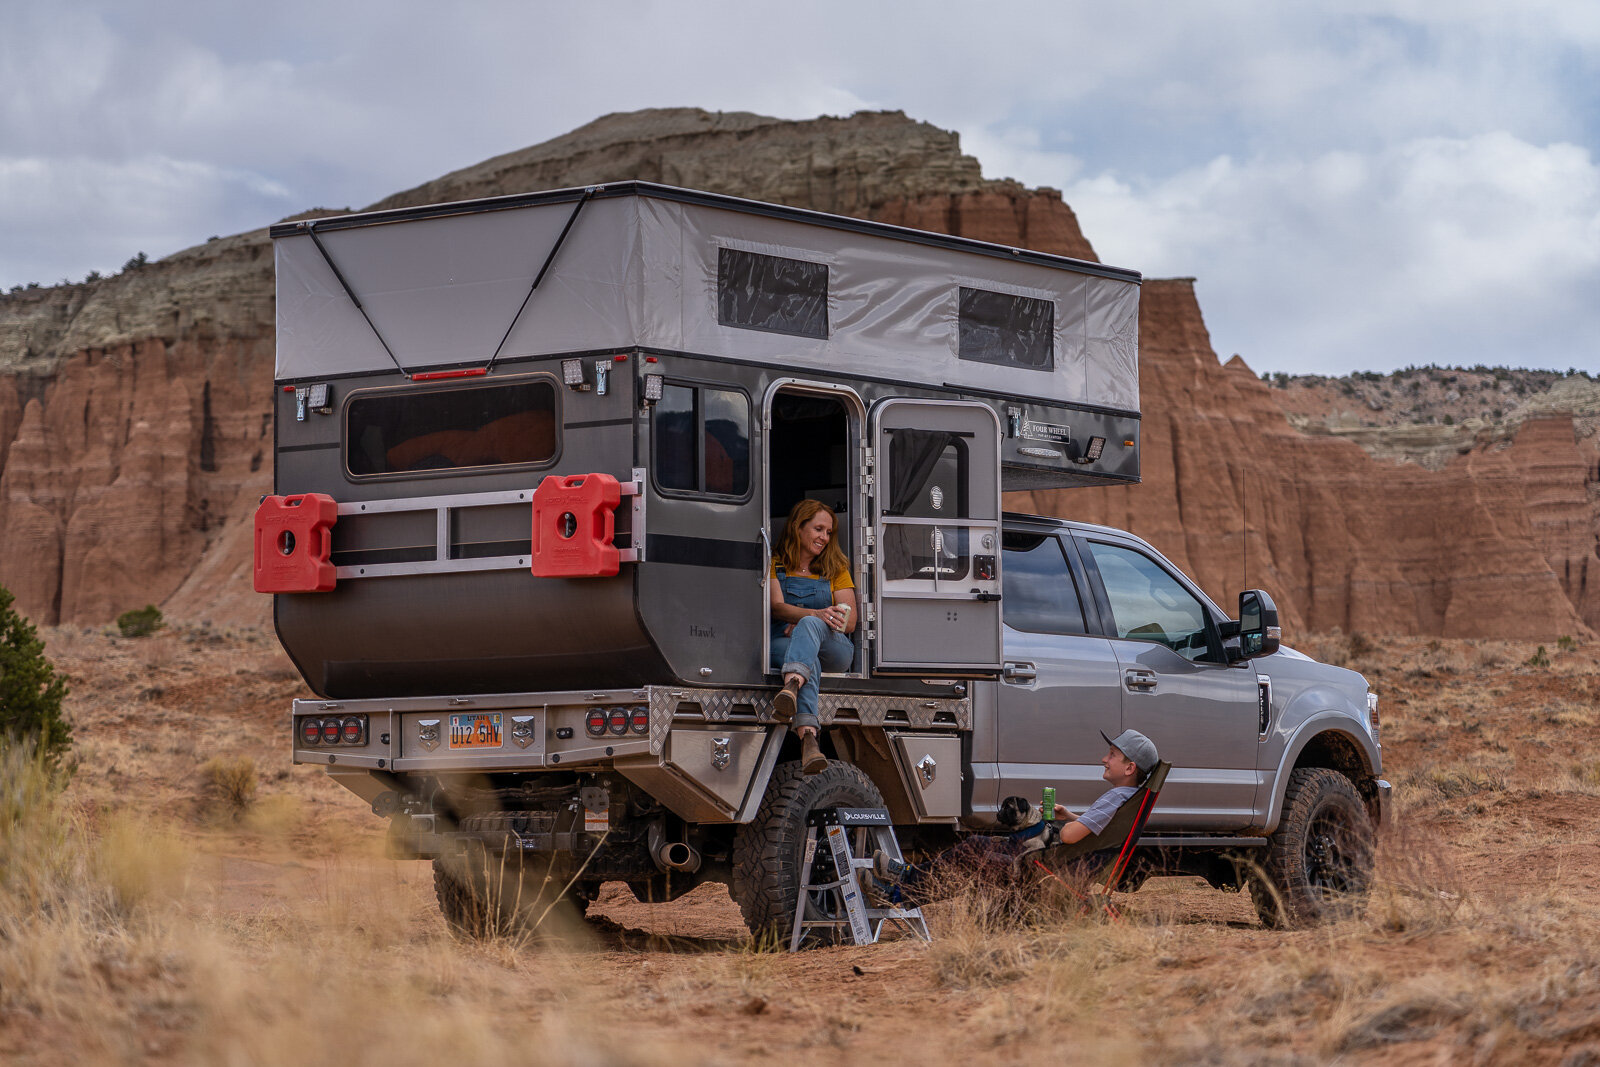
Professional adventure and nature photographer Bret Edge discusses using personalized default camera settings to minimize lost opportunities to produce dynamic, successful images.
Read moreFour Tips to Improve Your Fall Color Photography

Cottonwood trees lining an unnamed creek show off the colors of fall below the iconic spires of Castleton Tower and the Priest and Nuns in Castle Valley, Utah.
This morning I walked outside and was all like, wait, what...it's actually kinda not hot out here. What is going on? Then I looked at my phone and saw the date, September 3, and realized that, holy crap, fall is right around the corner. Fall! My favorite season! I did a little happy dance, collected myself and walked back inside to get ready for another day in paradise. With golden leaves already starting to appear in some areas of the Rockies I thought I'd take a few moments to share a few tips that may help you to create spectacular images this autumn. I hope you find them helpful.
FILTERS...KNOW THEM, USE THEM, LOVE THEM

Colorful leaves swirl in the cold waters of the Left Fork of North Creek as it flows through a section of canyon known as “The Subway” in Zion National Park near Springdale, Utah.
There is one filter I consider essential for photography in the fall, and yet another I highly recommend for creative expression. The venerable polarizing filter belongs in your kit year round but is especially handy during the colorful days of fall. I have never been a huge fan of using a polarizing filter for wide-angle landscapes but when shooting interior forest scenes and/or intimate compositions involving water (i.e. waterfalls, streams, etc.), a polarizer will remove or minimize reflections, thus giving the entire scene a more rich, saturated look. I always used Singh-Ray filters, specifically their fantastic Thin Ring Neutral Polarizer, which has a thinner outer ring that is less likely to cause vignetting when shooting at wider focal lengths.
The second filter I recommend is a solid neutral density (ND) filter. These filters are available in two versions: adjustable and non-adjustable. I've used the adjustable versions and find them to be...okay. Not great, just okay. They tend to work well when used at lower power but, in my experience, they introduce weird color casts when used at higher powers. Maybe the newer versions are better? Regardless of which type you choose, an ND filter reduces the amount of light reaching your camera sensor, thereby slowing the shutter speed. This can be used to great creative effect if you want to show movement, i.e. leaves swaying in the wind. These images will tend to have a more impressionistic, and at times, almost abstract mood to them.
I LIKE LONG LENSES AND I CANNOT LIE

Aspen trees and gambel oak display brilliant autumn leaves in the La Sal Mountains near Moab, Utah.
It's easy to get suckered into using wide angle lenses for landscape photography but the magic happens when you break out a long lens to isolate an interesting "scene within a scene." I used long lenses year-round but they got a real workout every fall when the aspens and cottonwoods would put on the all-too-short psychedelic show.
I think if you ask most accomplished landscape photographers whether it’s easier to use a wide angle or long lens for landscapes the answer would be overwhelmingly “wide angle.” I remember making a conscious decision to master intimate landscapes early in my photography career. I definitely didn’t master the art but I did manage to figure out how to create some pretty interesting images of scenes that most people would walk right by without so much as a glance. What’s the secret? You’ve got to learn how to create tension and balance all within the same image. Look for patterns, either actual or implied. Create order out of chaos. The essence of a really good intimate landscape is to work the scene until you’ve eliminated everything that isn’t necessary so that all that remains in the frame is the very thing that caught your eye. For that matter, that’s true of any photograph.
I could tell you to do this and do that with your long lens but the only real way to learn is to go out into the autumn trees, mount up a long lens and start experimenting. I always used either a 100-400mm lens when I shot with Canon and when I switched to Sony, my go-to glass was a 70-200mm lens. Also, don’t be afraid to experiment with depth of field while shooting at telephoto focal lengths. Sometimes, it’s better to use a narrow depth of field so your main subject pops from the blurred background.
The single best resource you’ll find on photographing the intimate landscape is Beyond the Grand Landscape: A Guide to Photographing Nature’s Small Scenes by Sarah Marino and Ron Coscorrosa. It’s the best $19.95 you’ll spend this year.
SUNRISE, SUNSET AND EVERYTHING IN BETWEEN

Raindrops gather on a single colorful aspen leaf on a cloudy day in the La Sal Mountains near Moab, Utah.
There’s no such thing as bad light, just bad photographers. That might be a harsh statement but it’s true. If you’re a photographer who bitches and moans when the light “isn’t right”, you’ve got some learnin’ to do. Photography is just painting with light - any light - so learn to use whatever light you’re presented with to make dynamic images.
We all know about the magic that happens at sunrise and sunset, but there’s a lot of time in the day between those two events - use it! Overcast light is perfect for macro work or intimate landscape photography. The soft, diffused light casts only quiet shadows, allowing even old cameras to record the full dynamic range of a scene. I love wandering around in aspen groves on overcast days. The opportunities are virtually limitless.
Even harsh mid-day light can produce extraordinary image possibilities. Look for high contrast scenes, i.e. a backlit tree, leaves glowing as if lit from within, against a deeply shadowed cliff face. Let those shadows go deep, deep black. High contrast scenes often times have the most visual impact.
Bonus Tip: While you’re out wandering around in the middle of the day, keep your eyes peeled for potential sunrise or sunset locations. This is what we call “scouting”. Worst case scenario, you spend the day walking around in the woods/desert/mountains/canyons, rather than sitting behind a desk or staring at your phone screen. That’s a win, right?
POST-PROCESSING PITFALLS

Imposing clouds loom at sunset over the Moab Fault in the desert below a canyon filled with brilliant aspen trees high in the La Sal Mountains near Moab, Utah.
I confess, I’m guilty of sliding the saturation slider just past the point of believability. If a little is good, more is more better, right? Wrong. So wrong.
In the mountain bike world, there’s an edict that bikes have gotten so good, there really aren’t any bad bikes anymore. Well, unless you’re buying a bike from Wal-Mart. Anyway, that’s really pretty true of photo processing software, too. I remember when Photoshop was the shizz. And then it was Lightroom. Now, basically anything you buy is more powerful than Photoshop was 15 years ago. However, with great power comes great responsibility.
If I had to sum up the single most common post-processing issue I could do it with one word: more. More saturation, more shadow recovery, more highlight recovery, more HDR, more processing…MOAR!!!! I’ve long strived for my images to remain within the realm of realism. I try to photograph in the best light with the best possible exposures at the correct aperture so I can spend less time post-processing images and more time out in nature. There are photographers who have made a name for themselves overusing processing to create images that are less about reality and more about fantasy. I appreciate their style of art, but it’s not my thang.
In a nutshell, when you’re processing you images, consider reigning it in just a little bit.
If you’re less of a computer geek and more of an outdoor geek, like me, it’s not a bad idea to get some help. I know my way around Lightroom and Photoshop these days, but I’ve been using both for a long time and have bought how-to books, watched YouTube tutorials and had good friends share some of their tips with me. Of all the resources I’ve used, none have been more valuable than Yosemite photographer Michael Frye’s “Landscapes in Lightroom” ebook and Sean Bagshaw’s incredible video tutorials. Michael’s ebook is a great launching point for beginner and intermediate photographers while Sean’s tutorials are helpful for intermediate to advanced image processing techniques.
If you happen to find yourself super inspired for fall photography, please consider purchasing one of my ebooks. Doing so will help me continue to create content for this blog and you’ll surely get a little boost to your karma cup. I’ve got three ebooks covering Arches, Big Bend and Zion National Parks, each costing only $15 or you can buy the whole bundle for $40. Just click here for all the details on eFotoGuide!
I hope you find these tips helpful and, if you’ve got a tip of your own, feel free to leave it in the comments below. Enjoy the autumn leaves!